Beautify your Instagram Feed in Seconds Using Presets
We all have our unique outlets of self-expression.
For example, I personally love using this blog and my Instagram to give others a glimpse into the world as I see it. One of the biggest photo editing game-changers for me has been discovering Lightroom presets!

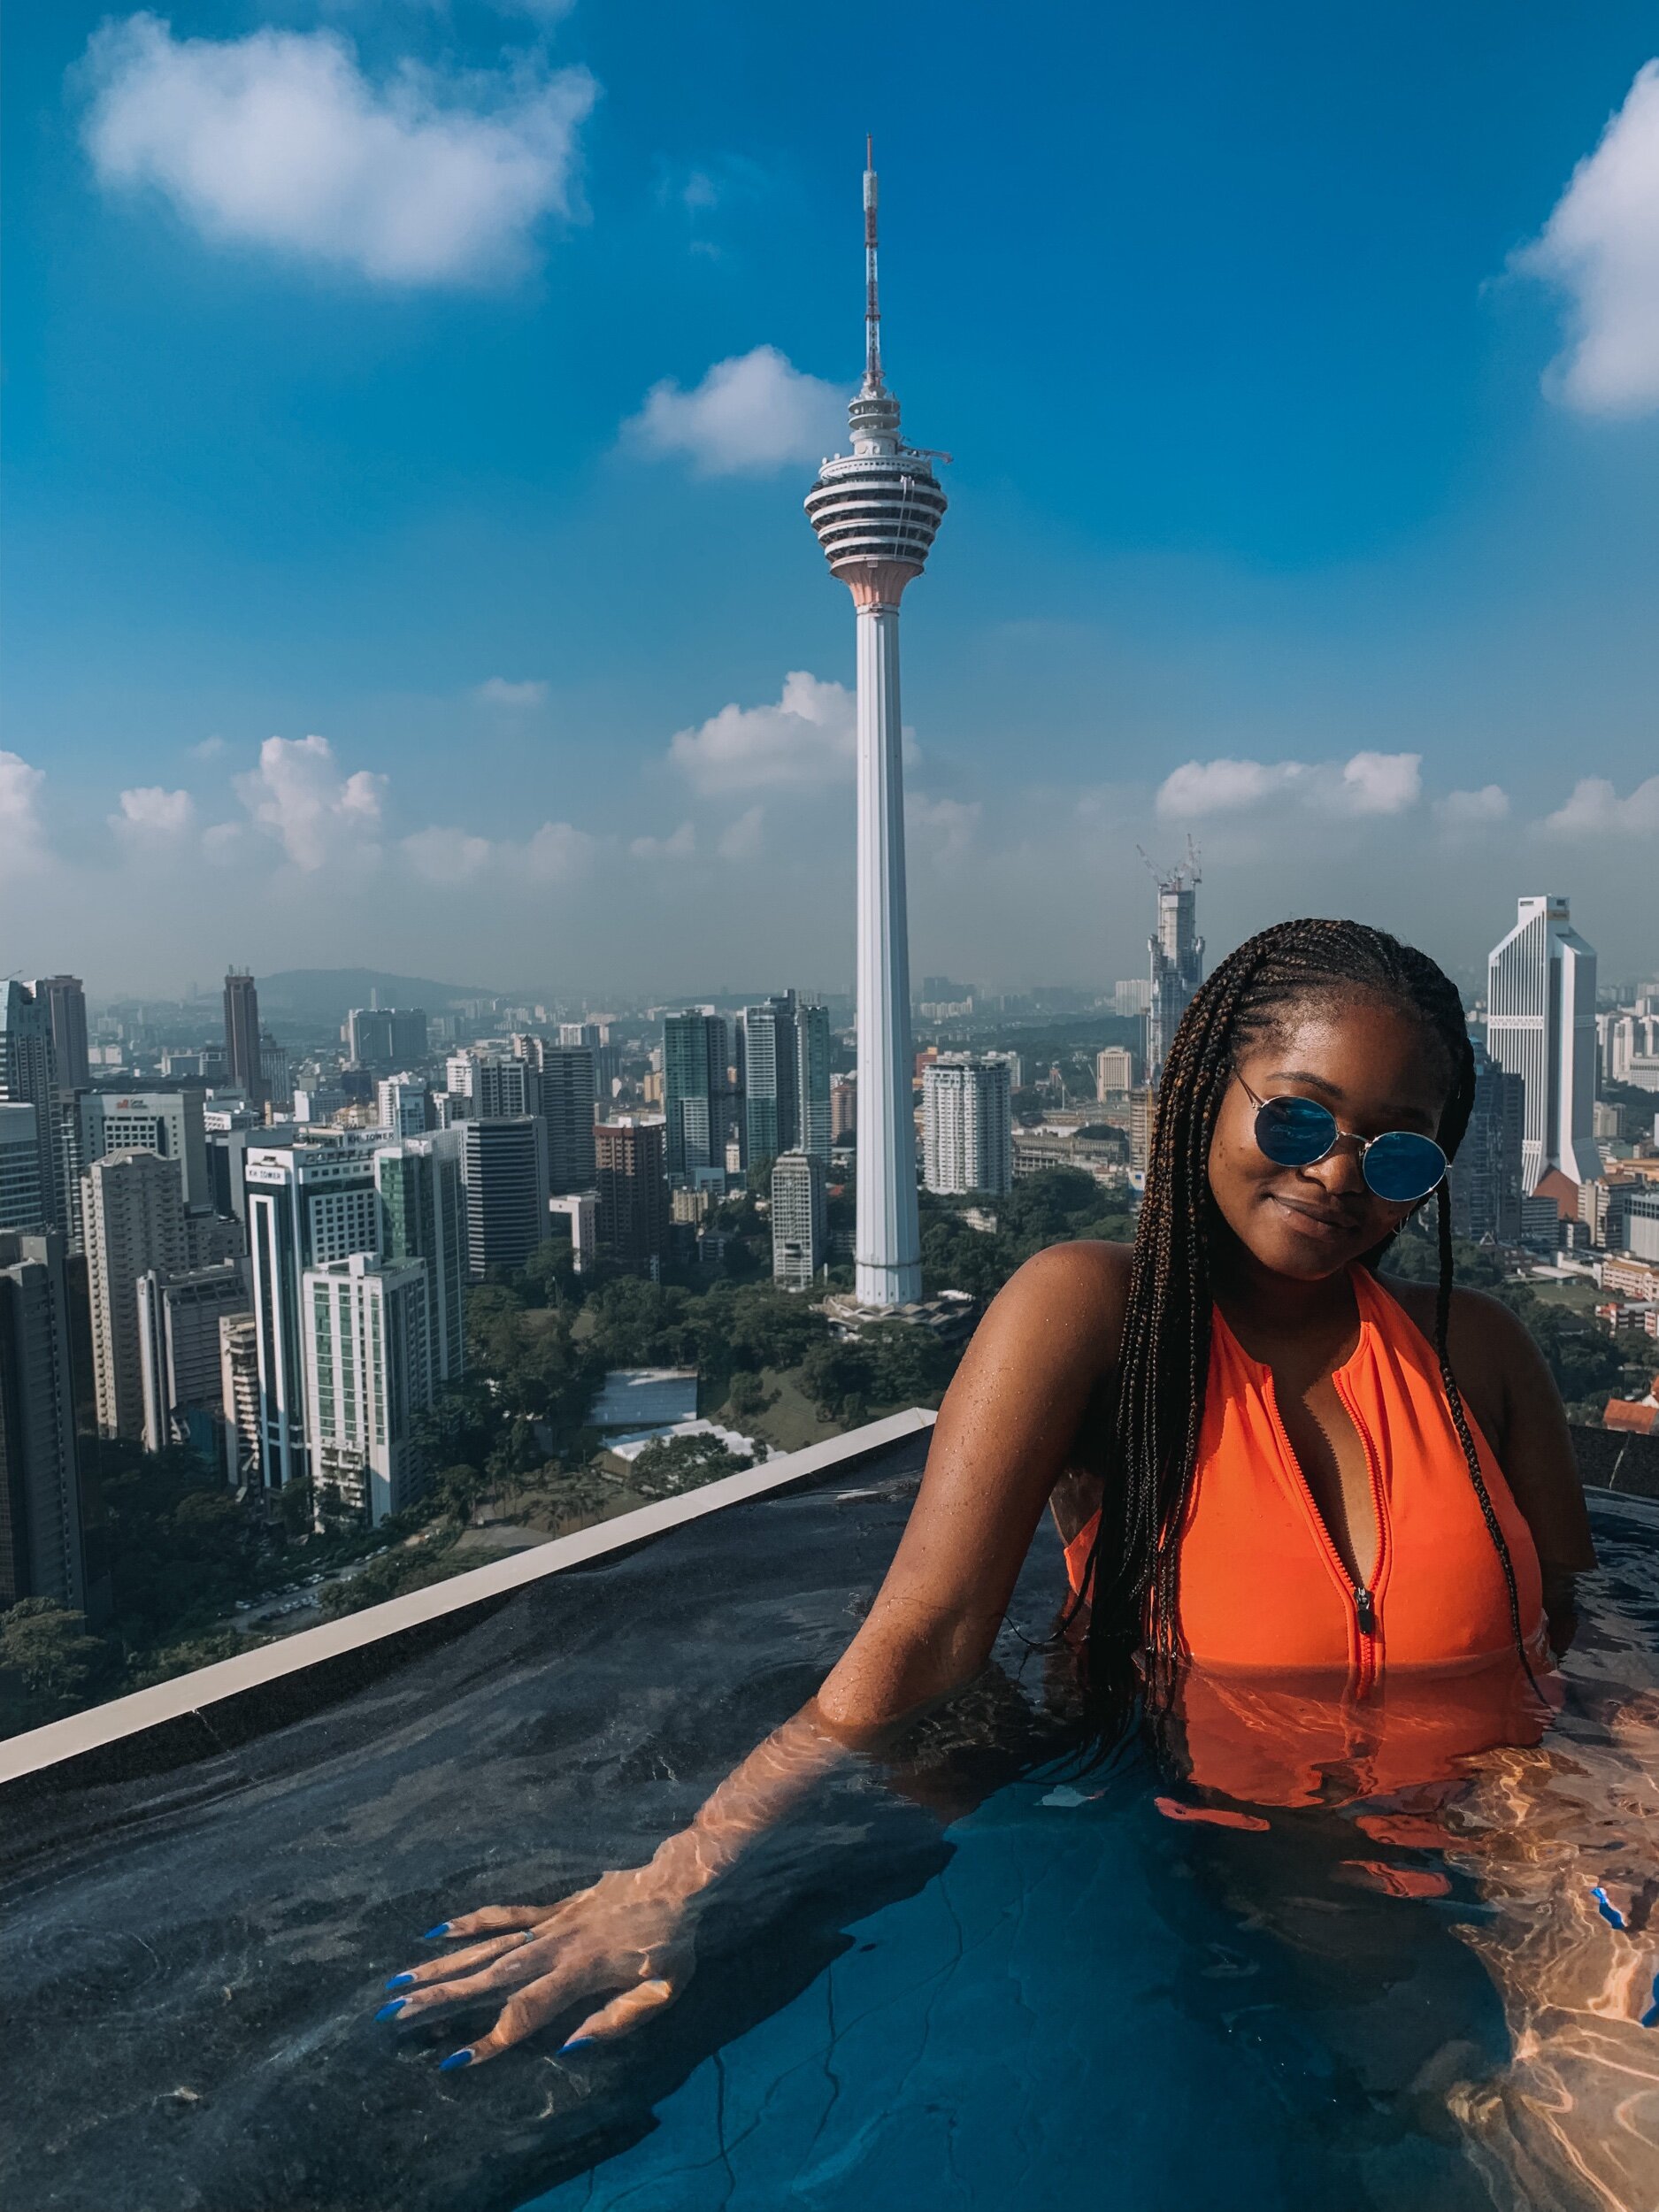
Before the preset

After the preset
What is a preset? You might ask.
Simply put, presets are a unique group of settings, features, and properties that can be applied to a photo to achieve a desired effect. They’re highly customizable, allowing you to enhance your photos in a way that is unique to you. In my opinion, they’re the more beautiful, stylish and sophisticated older sister of what many of us call “filters” . (This article breaks down some of the benefits of using presets over filters).
The preset I currently use enhances hues of blue, mutes greens, and makes the rest of the colors in my photos crisp and vibrant. I find the combination of these features visually pleasing.
I have been using the same preset for over a year and am super satisfied with how efficient and seamless my photo editing process is now. Gone are the days of bombarding my numerous group texts with dozens of photos, asking friends which filter they like better. I simply upload my photos to Lightroom (a photo editing app by Adobe), apply my preset, and vìola! I’m done editing in a matter of seconds!
Check the before and after shots:


Interested in finding a preset of your own? Well, you’re in luck! Today I’ll be walking you through how to find the perfect preset online in a few simple steps.
1. Know what you want
The first step in starting your preset search is brainstorming what features you value. It took me several days to brainstorm, so no worries if you don’t know what you want off the bat. Think about the kind of photos you like to see on social media. Do you like vibrant colors? Or are you a fan of more muted and neutral feeds? Don’t know? Just hop on Instagram or Pinterest and get to scrolling. Take note of which photos catch your eye and try to develop a vocabulary around those features. Words commonly used to describe presets are : bright, airy, neutral, clean, vibrant, etc. If you’re still having trouble coming up with the right language to describe the preset you want, then try step 2.


2. Search Google for Adobe Lightroom presets
When I first set out to find the perfect preset, the only words I knew to describe the kinds of photos I wanted were “rich” and “vibrant”. Once I hit the Google streets, however, I was able to expand my language based on descriptions of already existing presets.
I’d see presets described as “light” and “airy” which would make me think, “Nah, I want the opposite…dark and crisp!” So getting out there and seeing what descriptors already exist will help you hone in on what features are important to you.


3. Be patient. Be smart.
Presets are widely used by bloggers and photographers, so there are a plethora of options to choose from online. Once you have a few key words to describe your desired preset, type them into your search bar and browse the available options. Pay close attention to the sample before and after photos. Read reviews like you would for any other product. Be patient and take your time.
Some presets are free, while others may run anywhere between $3 and $10. I found that many free presets were lower quality and left photos with highly distorted properties compared to ones being sold. After a few days of browsing, I opted for a $10 preset package containing 6 different preset options from a seller on Etsy.


4. Download your preset and get started. Be consistent.
Now that you've chosen a preset and downloaded it, you're ready to start beautifying your feed! Download the Adobe Lightroom app and follow the instructions provided with your preset.
The key to maintaining a cohesive feed is to be consistent and only use your preset to edit photos. Resist the temptation to add extra filters! That’s over. You’re bougie now. Welcome to the preset club!
Keep in mind that using presets is just one way to easily beautify your Instagram feed. Continue taking high-quality photos to maximize the effect of your preset. Use light to your advantage. Make sure photos are in focus. Give yourself options by taking multiple shots.

Soon you’ll be well on your way to having a gorgeous Instagram feed!